Animation
Student Examples:
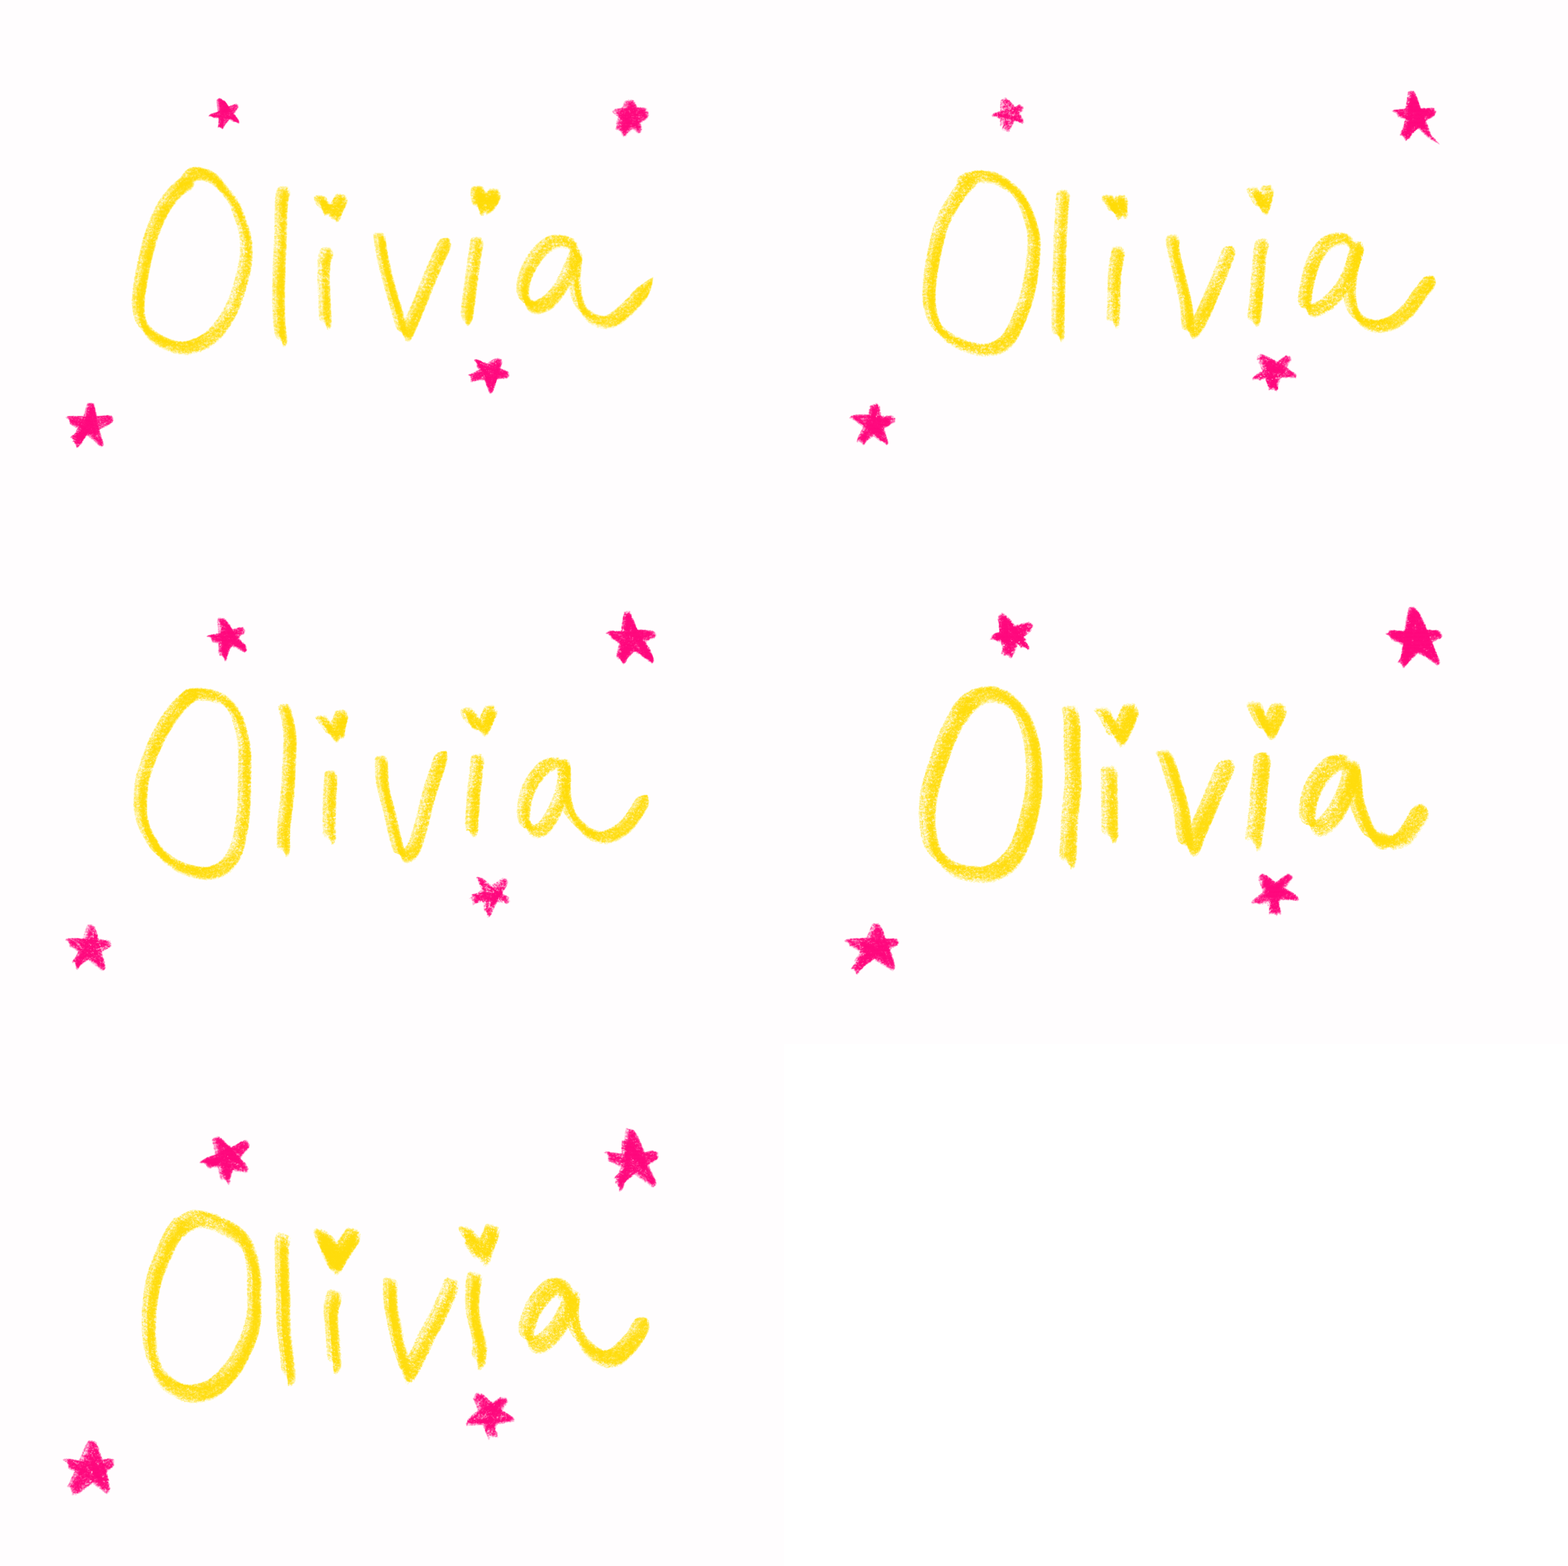
Day 1: The Wiggle Project
Learning Target:
- I can create a simple animation using words.
To Do:
1. Open Procreate
2. Watch instructional video and follow along.
3. Click on + and choose 4 x 6.
4. Go to Gallery and name the project Wiggle.
5. On first layer write name. (Brush: Caligraphy/Blotchy)
6. Make another layer and rewrite name. (Repeat for 5 layers)
7. Go back to layer one, change colors and draw five dots.
8. Go to each layer and color over each dot.
9. When finished, share as Animated Gif.
10. Click Export and save in Google Drive.
11. Attach to this assignment and Turn In.
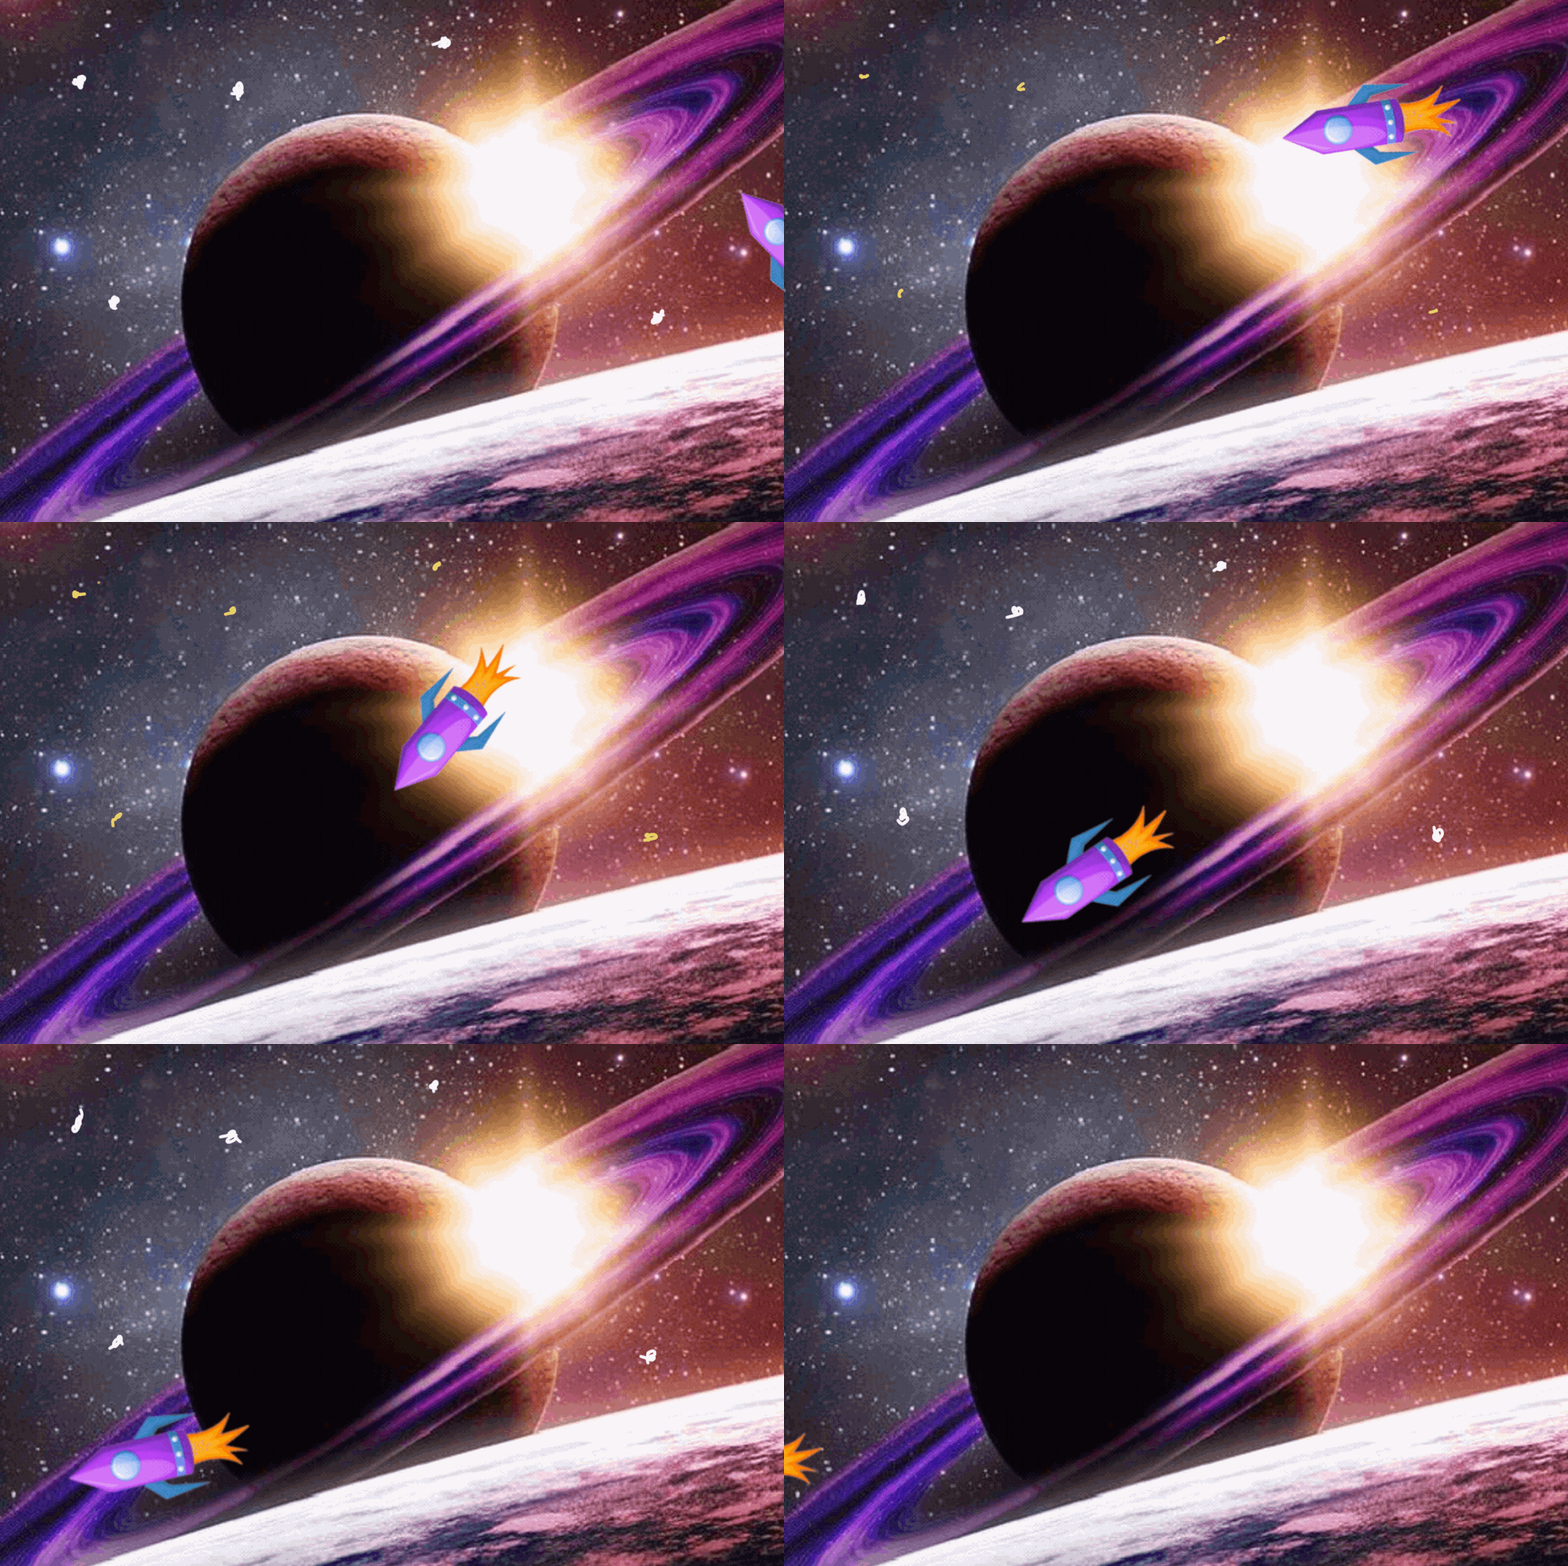
Day 2: The Rocket Project
Learning Target:
- I can animate an object.
To Do:
STEP 1:
1. Watch the 1st step video and follow along.
2. Save a rocket image to the Google Drive.
3. On the iPad, go to your Google Drive and open the rocket picture.
4. Click on 3 dots/Choose Open In/Save to Files/Choose Downloads/Save
5. Go to Downloads & Click on Rocket/Choose upload/Save Image (This will put it in the Photo area.)
STEP 2:
1. Open Procreate (Watch this video & follow along.) https://youtu.be/NTp1zoq7eyM
2. Open new project by clicking +. Choose 4 x 6.
3. (Layer 1) Draw a curved line across the canvas.
4. Choose N and lower opacity to about half way.
5. Add a layer.
6. Choose Wrench/Add/Insert Photo. Choose the rocket.
7. Position rocket on the line and duplicate this layer.
8. Go back to previous layer and move rocket halfway off the canvas page. (Use arrow tool/freeform)
9. Go to next layer and position rocket overlapping first rocket but sitting a bit further along the line.
10. Duplicate this layer and continue this process until you get to the end of the page.
11. The last layer should have the rocket halfway off the page.
12. Turn of the layer with the line.
13. Click on Wrench/Share/Animated GIF - save this to the Google Drive
14. Attach to this assignment and turn in.
|
Step 1
|
Step 2
|
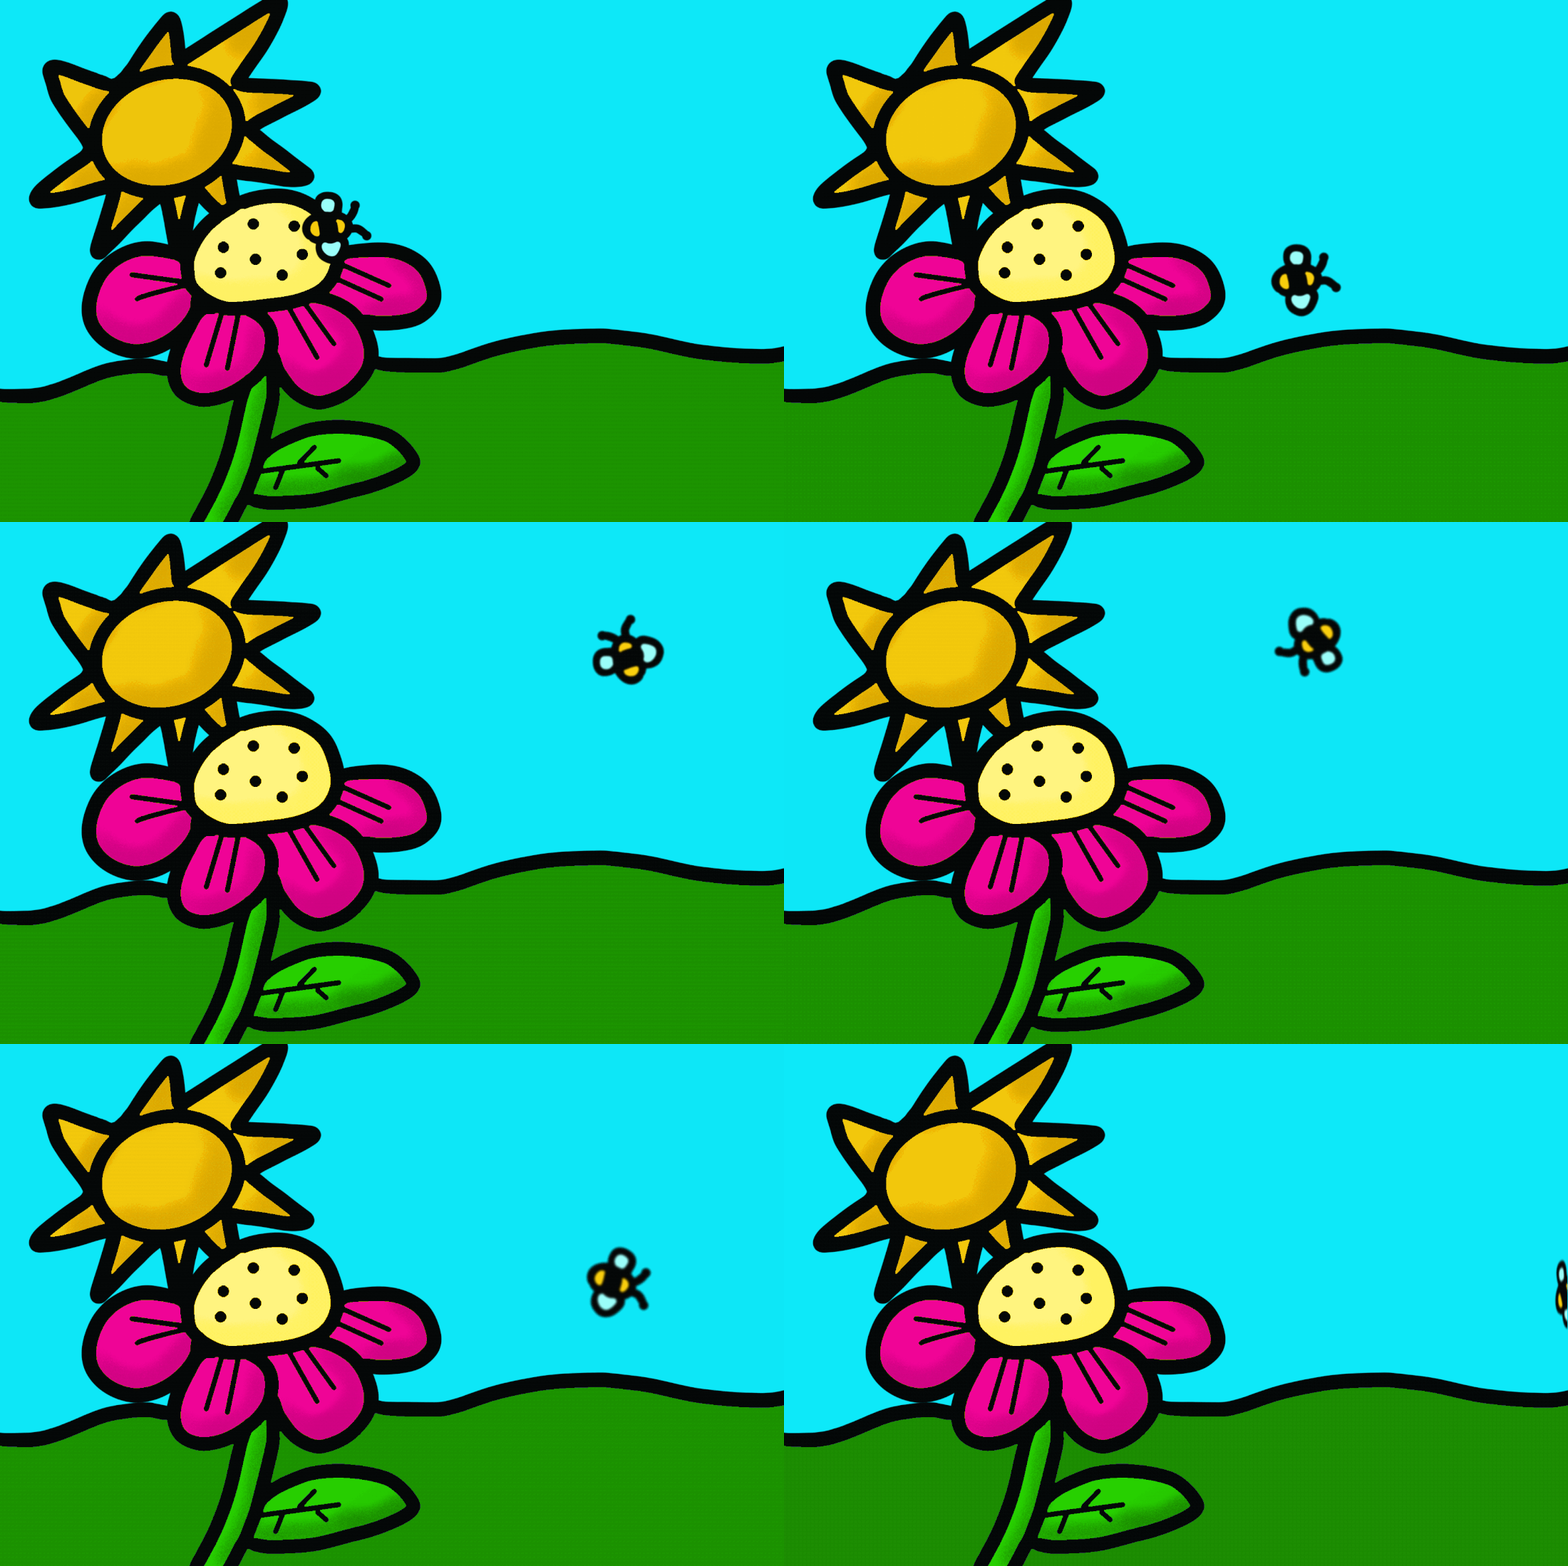
Day Three: The Bee
Learning Target:
- I can create a still background with an animation.
To Do:
1. Watch the instructional video & follow along.
2. Set up canvas to 4 x 6.
3. Title canvas as The Bee.
4. Click on the first white frame at the bottom and choose Background.
5. Draw a flower, sun and grounding line.
6. Turn on Reference on first frame (layer).
7. Color drop for the sky & ground.
8. Create a new layer for each color from this point on.
9. Color drop the color for each layer.
10. Turn on Alpha Lock for each layer.
11. Go to each layer and add shading using the Touch-Up Noise Brush.
12. When finished, squish all layers together.
13. Add a layer, draw a small bee and color it. Choose select (the arrow) & position the bee where you want it to start off.
14. Add another layer & position the bee. Repeat until you have finished where you want the bee to end.
15. Choose play to view your animation.
16. Click on Wrench/Share/Animation Gif
17. Adjust speed of animation and Export.
18. Save it to the Google Drive & attach to this assignment & turn in.
Day 4: The Rocket w/Background
Learning Target:
- I can create a background and twinkling stars for my rocket animation.
To Do:
1. Watch & follow along with the instructional video.
2. Go to Safari & search for outer space images.
3. Hold finger down and choose Add to Photos.
4. Close Safari & open Procreate. Open previous rocket project.
5. Insert a layer above Layer 1. Go to Wrench/Add/Insert a Photo/Choose Photo.
6. Stretch photo out to cover entire canvas.
7. Pull this Layer below Layer 1.
8. On every other layer, draw 5 dots using white.
9. On the other layers draw over the previous white dots with yellow.
10. Once completed go to Wrench/Canvas/Animation Assist
11. Tap on first frame (layer) at the bottom of the screen. Choose Background.
12. Tap Settings and adjust the speed of the frames per second.
13. Tap Wrench/Share/Animated GIF and save it to the Google Drive.
14. Attach it to this assignment and Turn In.


