Creating Textures & Patterns Unit
Student Examples:
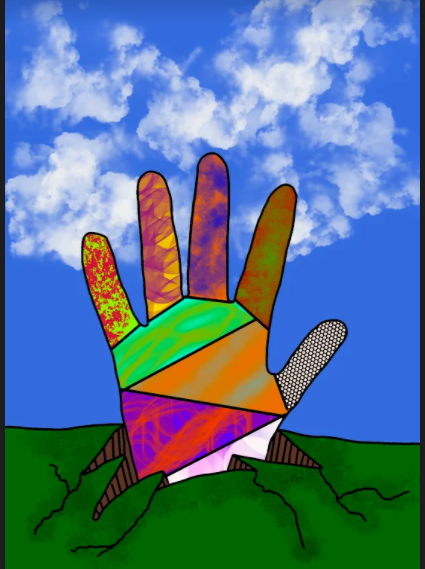
Sadie S.
|
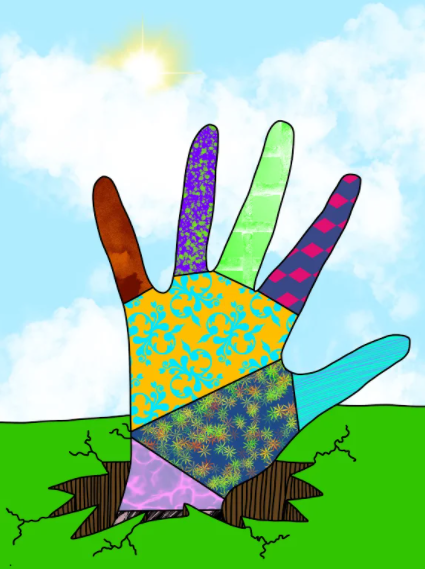
Olivia K.
|
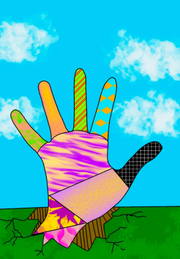
Grace H.
|
Arianna B.
|
Day 1 - Creating a Texture/Pattern Chart
To Do:
1. Open Procreate
2. Open new blank page
3. Watch & Follow along with instructional video.
4. Create 9 spaces.
5. Turn on Reference on Layer 1
6. Drop a color in each square. Make sure to use a different layer for each color.
7. Turn on Alpha Lock for each colored layer.
8. Insert a texture in each square. (A different texture per square)
9. Share as a jpeg in your Google Drive.
10. Merge with your other items to create a stack.
11. Name the stack your name.
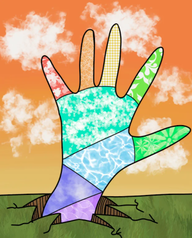
Day 2 - Drawing of Texture Background (The Hand)
To Do:
1. Open sketchbook to blank page and turn portrait.
2. Watch and follow instructional video.
3. Trace hand & wrist by holding pencil straight up.
4. Draw the ground around the hand.
5. Open camera on iPad and take a picture of sketch.
6. Open picture in photo area and crop.
7. Save/Export picture to Google Drive. (Change name to textures.)
Day 3 - Inserting the Hand into Procreate
To Do:
1. Open Procreate.
2. Watch & follow along with instructional video.
3. Import sketch of hand into Procreate.
4. Turn down opacity (click on N) by sliding to the left.
5. Add new layer.
6. Choose pencil (15%) and draw entire sketch.
7. Use eraser to clean up any areas.
8. Share to Google Drive as Procreate
9. (Move into your Stack if you have one.)
Day 4 - Inserting Texture/Patterns to finalize project.
To Do:
1. Open iPad
2. Watch the instructional video and follow along.
3. Save Texture Chart as jpeg in Google Drive.
4. Split screen with folder and Procreate.
5. Turn off Layer 1 - that is the sketch
6. Reference On - Layer 2
7. Color drop into each section. (Make sure to have a new layer for each color.)
8. Color drop background & ground. (Make layers.)
9. Alpha Lock all layers.
10. Add textures to each layer (Refer to Texture Chart)
11. Share as a jpeg/save to Google Drive
12. Attach to this assignment and Turn In.